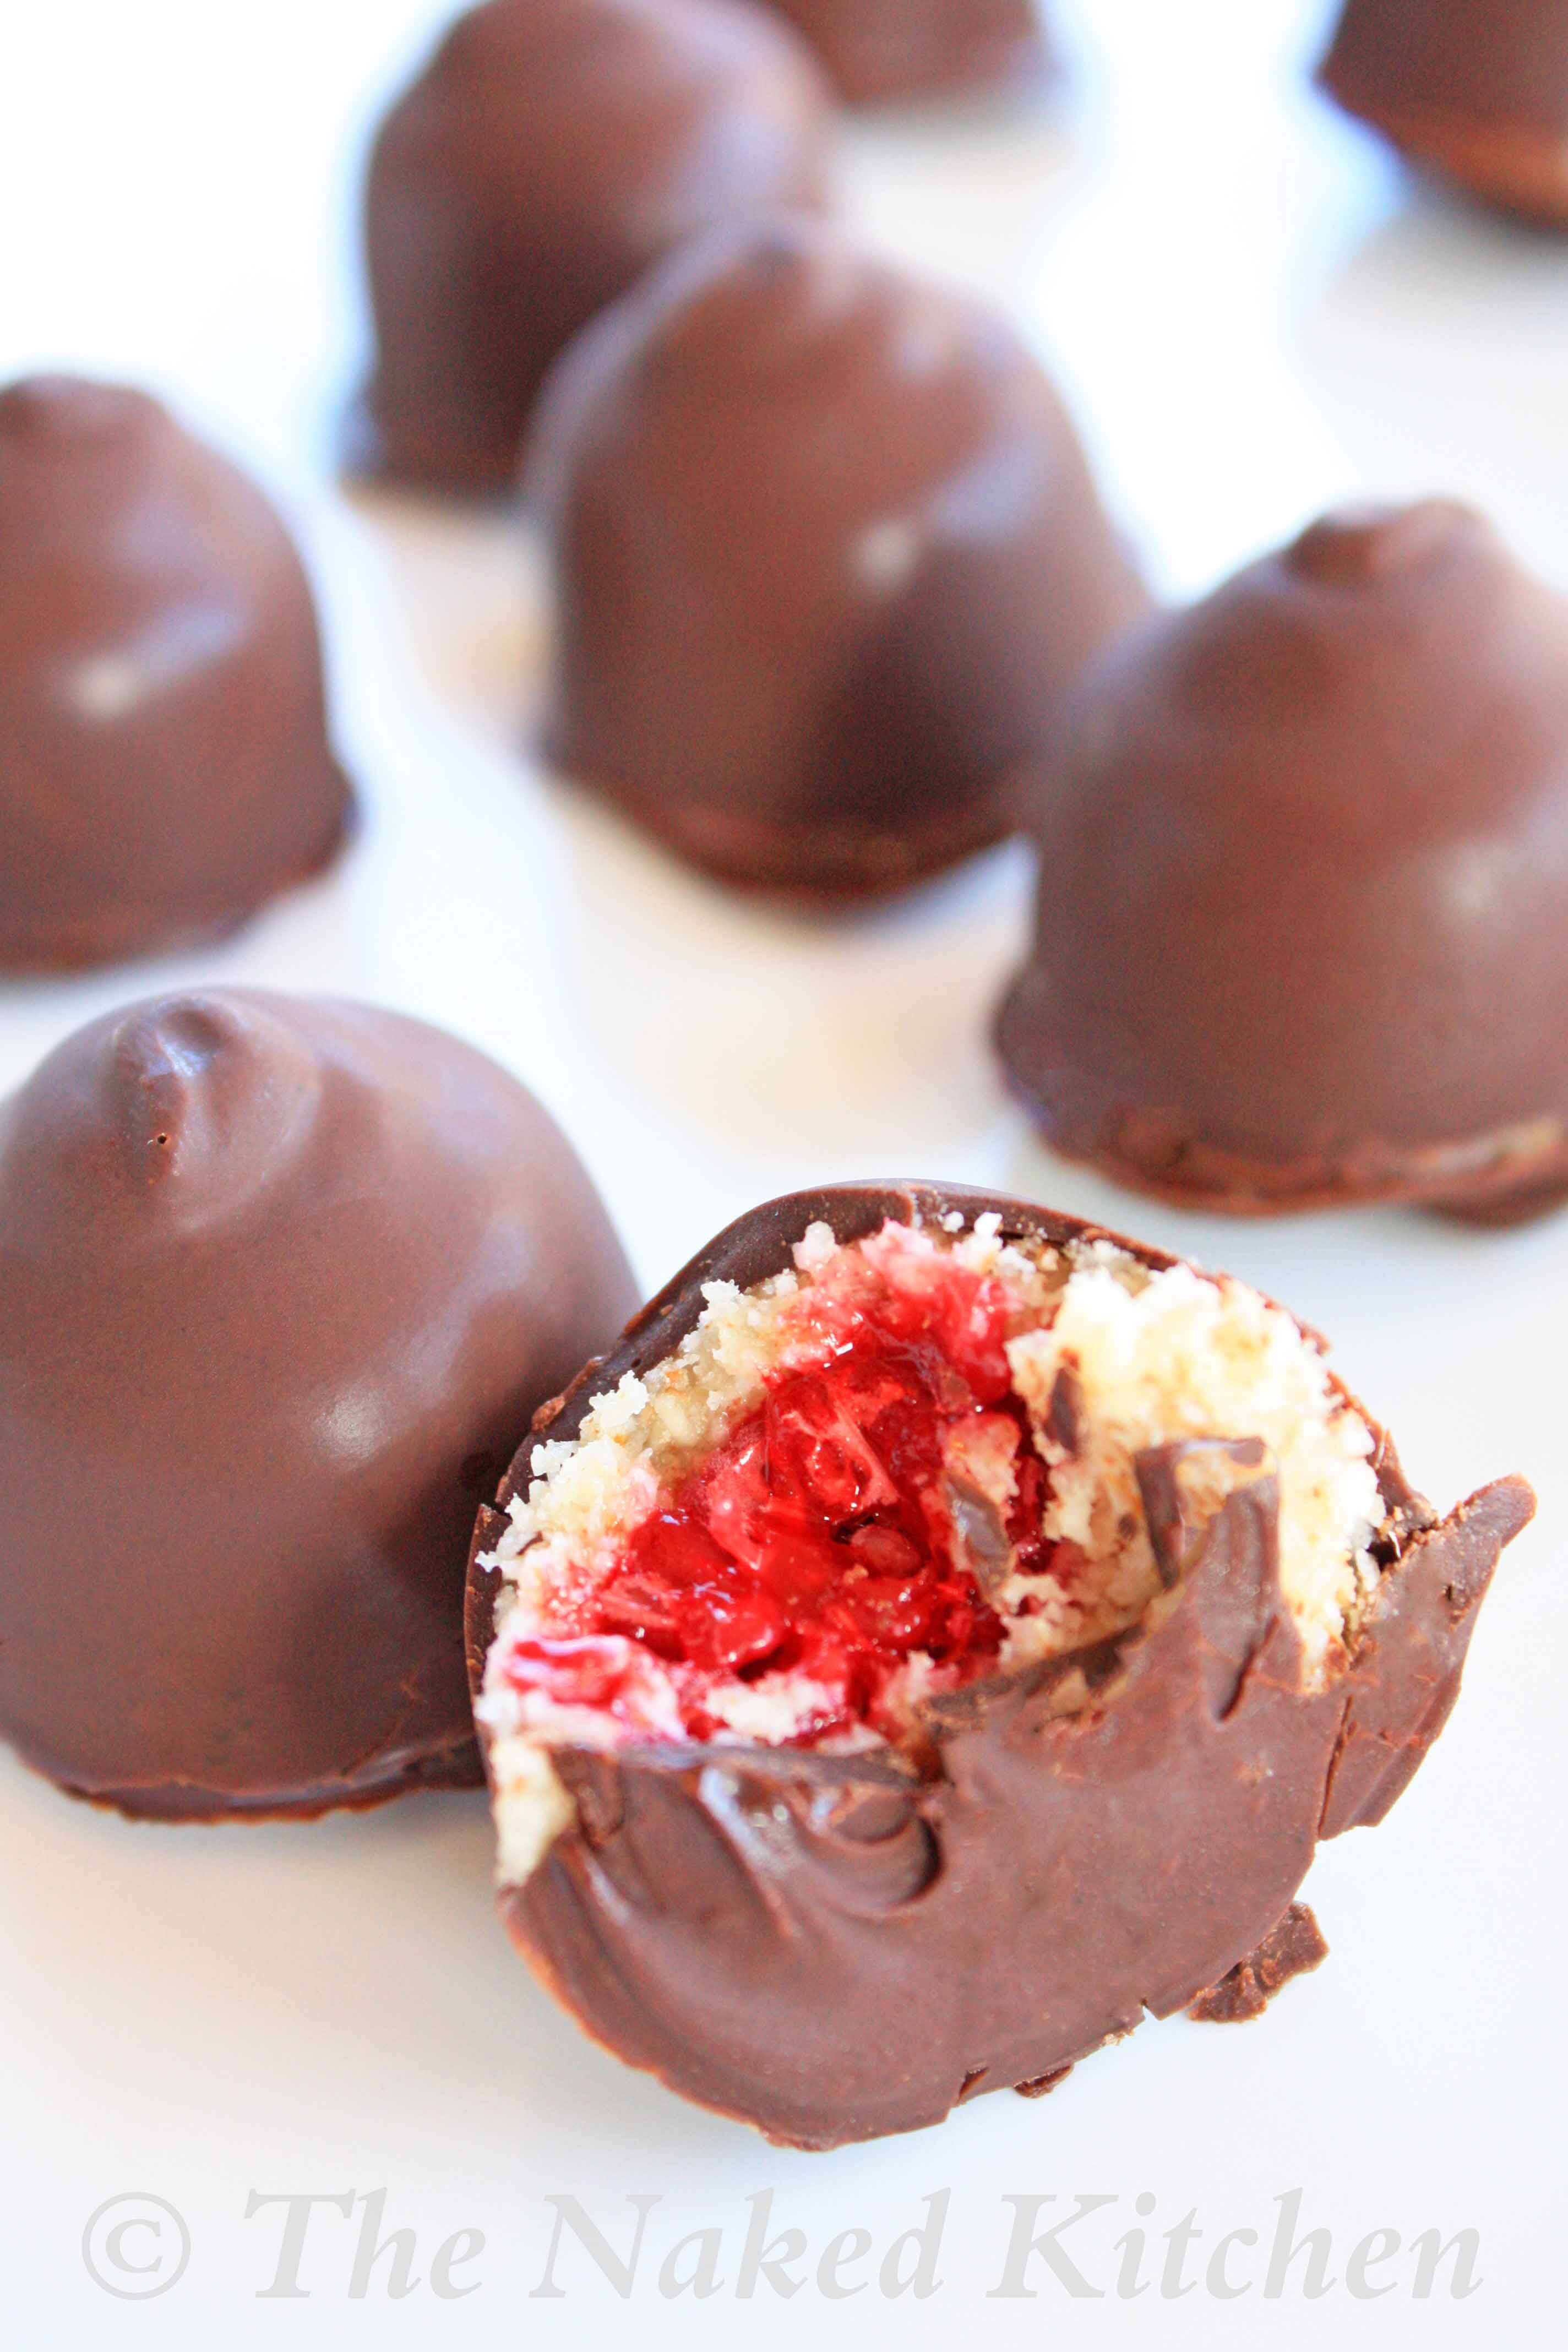
My kids and I recently finished reading Charlie and the Chocolate Factory by Roald Dahl. It was one of my favorite books as a child and my kids loved it as much as I did! We had a fun time talking about all the stuff we would put in our own Chocolate Factory and boy did it make us hungry! For our final project we decided to make our own candies. Keegan, being the fruit lover, wanted to make a candy using raspberries and Caleb, chocolate addict, wanted a chocolate candy. I used to love chocolate covered cherries so we used that as inspiration and came up with a delicious treat that we all loved.
Sarah
Ingredients:
- 1/2 cup chocolate chips of your choice *see notes
- 1/4 cup raw almonds
- 1/2 cup unsweetened shredded coconut
- 1 tbsp coconut oil
- 3 tbsp raw honey or coconut nectar
- 1 tbsp vanilla
- pinch of sea salt
- 8 – 10 frozen raspberries
- plastic candy mold with at least 1 inch deep molds (you can find molds at hobby stores and kitchen gadget stores)
Preparation:
- Melt the chocolate chips in a small pan on the stovetop or in the microwave. Once the chocolate is completely melted use a clean unused paint brush and spread a layer of chocolate inside each of the candy molds.
- Place the candy mold in the freezer for 15 minutes or until the chocolate is completely frozen.
- Meanwhile add the almonds, shredded coconut, oil, honey, vanilla and salt to a food processor or blender. Pulse until you have a coarse, sand like mixture.
- Remove the candy mold from the freezer and fill each mold with about 1/2 tbsp of the almond/coconut mixture. Press the mixture around the edges, leaving a hole in the center for the raspberry.
- Place a frozen raspberry into the center of each mold and use the remaining almond/coconut mixture to fill the mold to just below the top.
- Spread a layer of melted chocolate over the top of each mold and place back in the freezer for 5-10 minutes or until the candy is firm.
- Remove from the freezer and carefully “pop” candy out of the molds. They should easily pop out, if not place back in the freezer for another 5 minutes.
- Let the candies sit at room temperature for about 5 minutes before eating.
Nutritional Info:
Makes 8 – 10 candies depending on the mold you purchase.
Serving size 1 candy.
Nutritional info will vary depending on the type of chocolate chips used and how much of the filling is needed for your particular mold.
Notes:
Depending on the variety and type of chocolate chips that you use you might need to sweeten them up a little with some raw honey (or coconut nectar) and some milk. If you want a more dark chocolate like shell them skip the honey and milk. For those that want a more milk chocolate shell add in a tiny bit of honey and milk until you get the sweetness that you prefer. Also, if you follow a gluten free diet make sure to use a gluten free chocolate chip.
Leftover candies need to be stored in the freezer until ready to serve. Let the candies sit at room temperature for 5 minutes before serving.
Leftovers stored in an airtight container will keep for up to 3 months.
 Based on 1 Review(s)