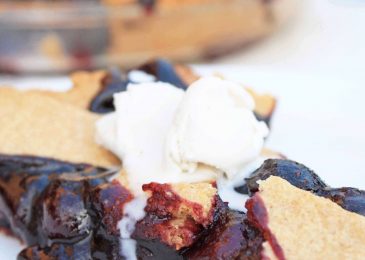
Blueberry Pie
For the past few weeks the organic market where I shop has had the most beautiful, plump, juicy blueberries I’ve…

For the past few weeks the organic market where I shop has had the most beautiful, plump, juicy blueberries I’ve…
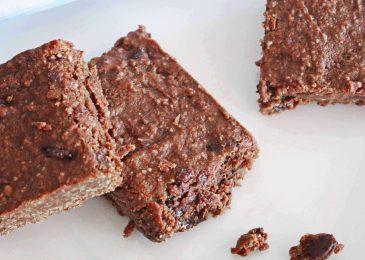
How do you like your brownies? Soft and cake-like or gooey and fudgey? I love a good ooey-gooey fudgey brownie.…
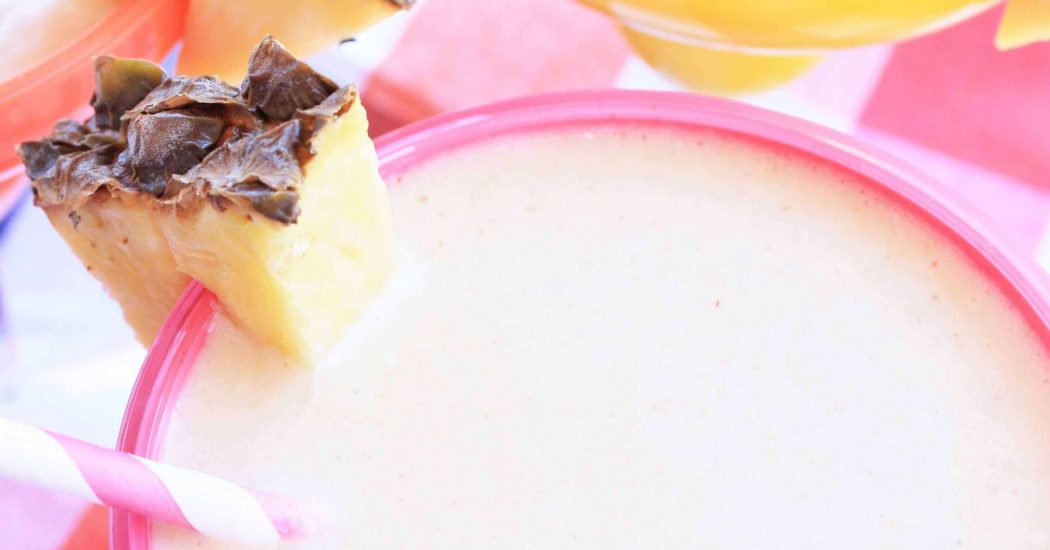
I make Homemade Almond Milk at least a couple of times a week. I love the smooth richness of the milk and…
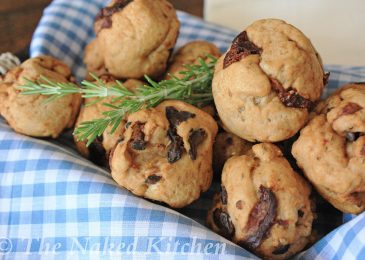
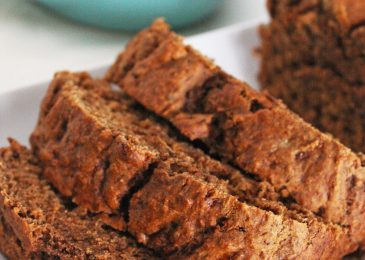
The smell of baking bread is almost hypnotic, don’t you think? I smell fresh bread baking and I feel like…
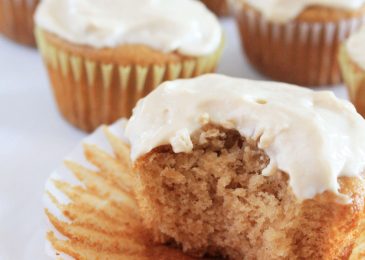
The last 3 weeks have been a haze of cupcakes – all of which were major fails! I had cupcakes…
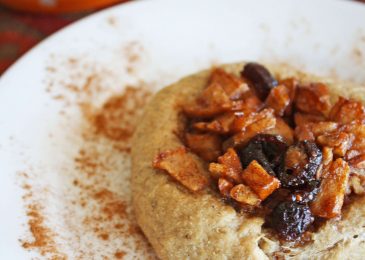
Years ago I used to work with a woman who made the best apple dumplings. They were unlike any other…
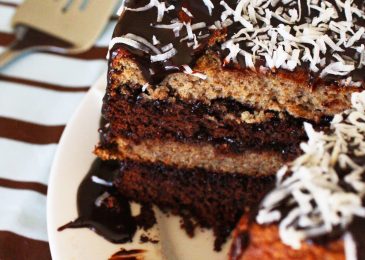
This last week my little guy turned 7 years old. It still hasn’t sunk in yet. To celebrate this milestone…
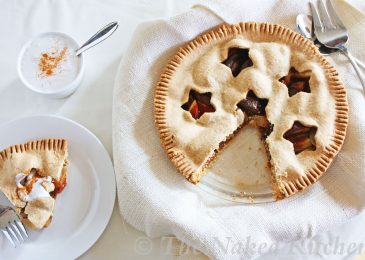
During the holidays, in my family, pie was always the only dessert choice on the menu. Pumpkin, apple and usually…
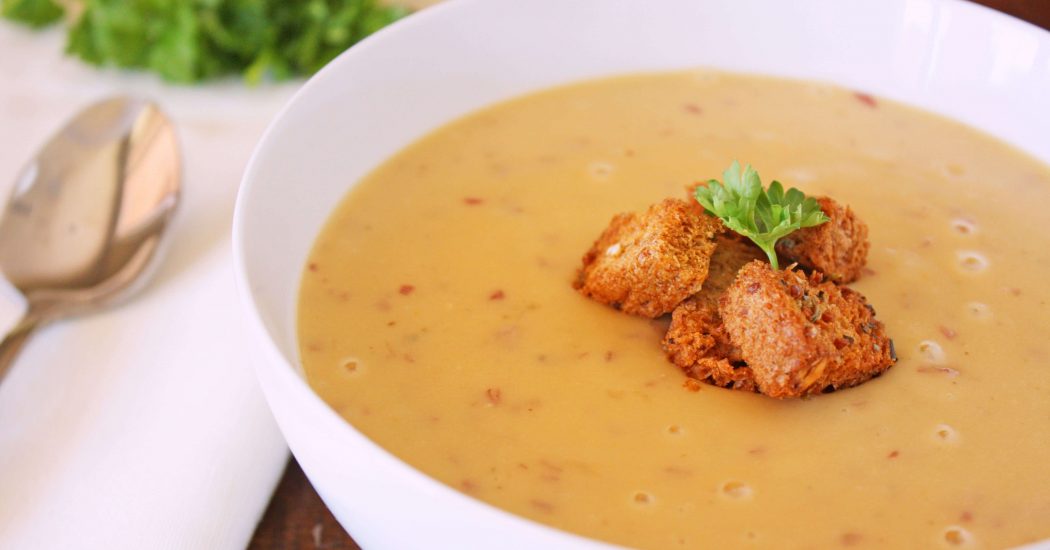
This past week we’ve been hit with some rainy weather and it always puts me in the mood for a…
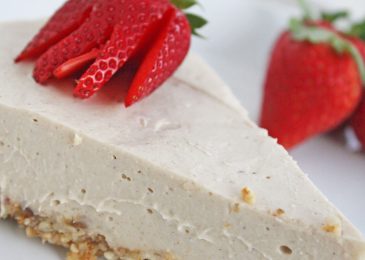
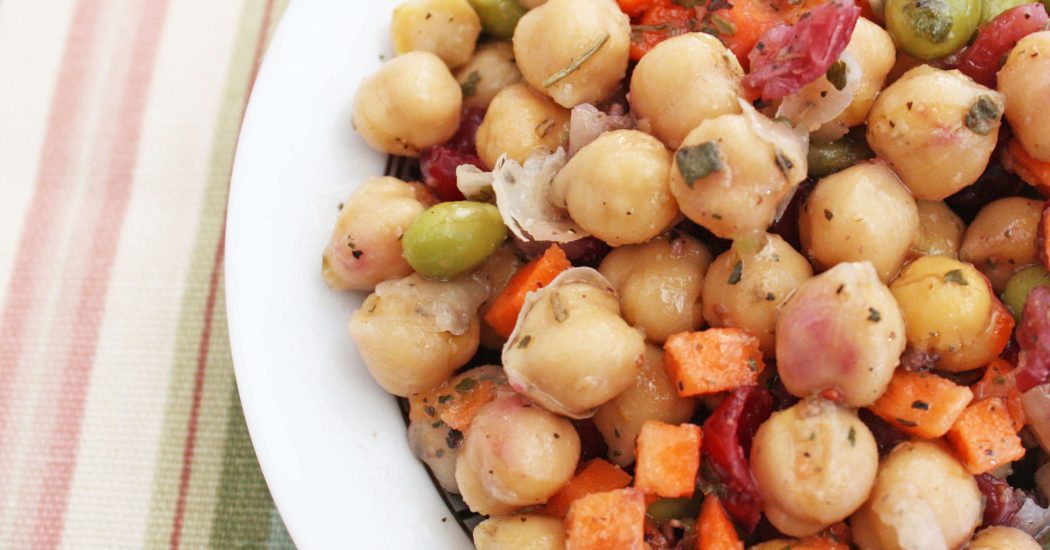
So many times when people think of raw foods their minds immediately go to green salads or plates of raw…