Naked Eating – Starting Out – One Step At A Time
So you’ve read some books, maybe browsed a few magazines and googled a few topics and you’re ready to make…
So you’ve read some books, maybe browsed a few magazines and googled a few topics and you’re ready to make…
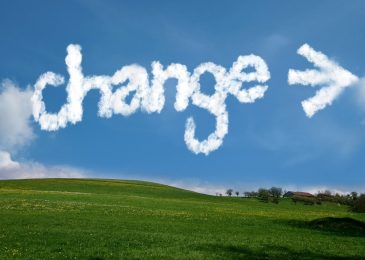
So you’ve read some books, maybe browsed a few magazines and googled a few topics and you’re ready to make…

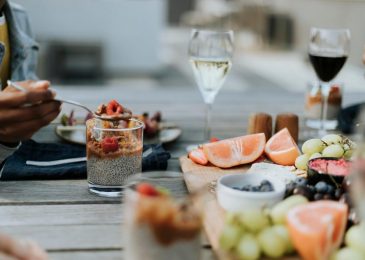
So what is ‘Naked Eating’? While it doesn’t necessary involve sitting around your kitchen eating with your clothes off, what…