
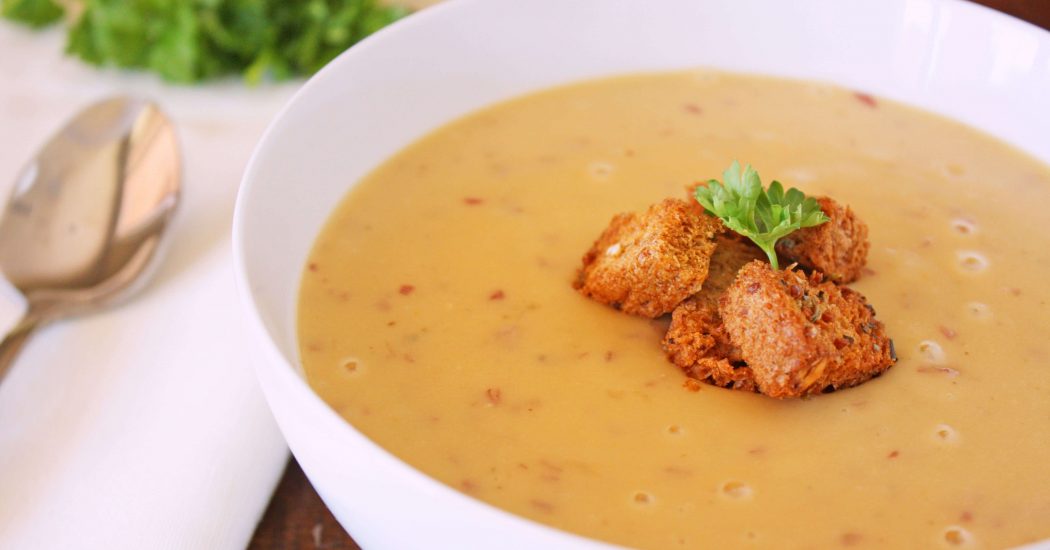
Creamy Potato Onion Soup
When my husband and I were coming off our 5 day juice detox we needed to make sure that we eased our…


When my husband and I were coming off our 5 day juice detox we needed to make sure that we eased our…
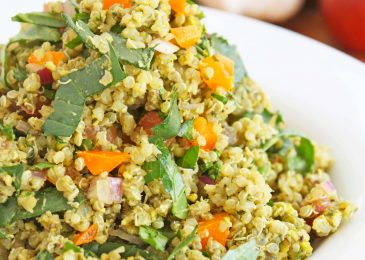
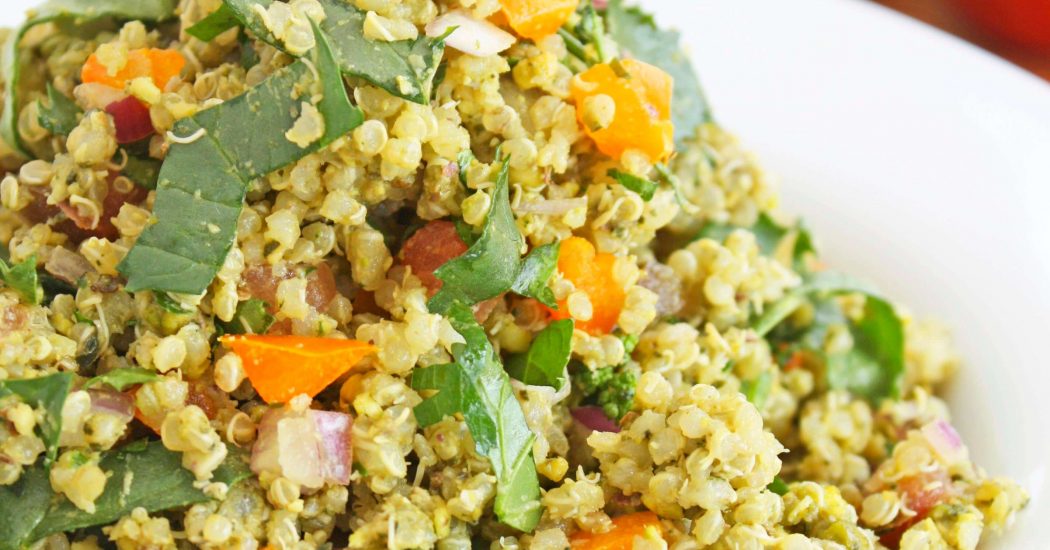
I’ve always been a fan of pesto but a pesto featuring one of my favorite nuts – oh yeah. I…

I don’t know what it is about Christmas and popcorn but they seem to go together. How did the tradition…

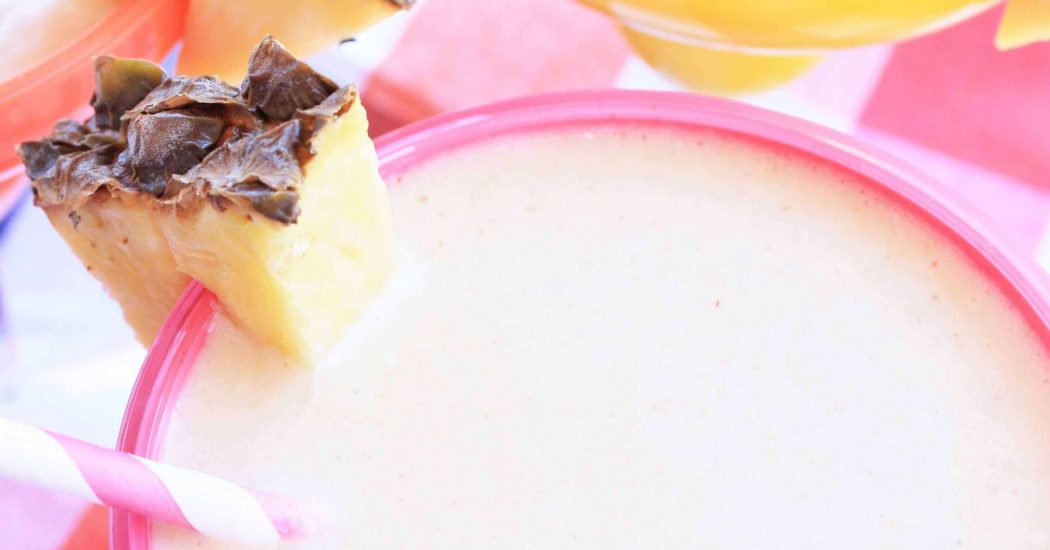
I love coconut milk. What I don’t love is that I never end up using a whole can. I always…

At my high school WAAAYYY back in the day, school lunch was NOT something you would ever eat UNLESS it…
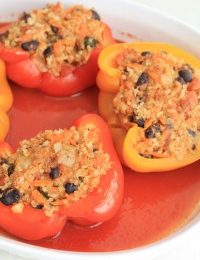
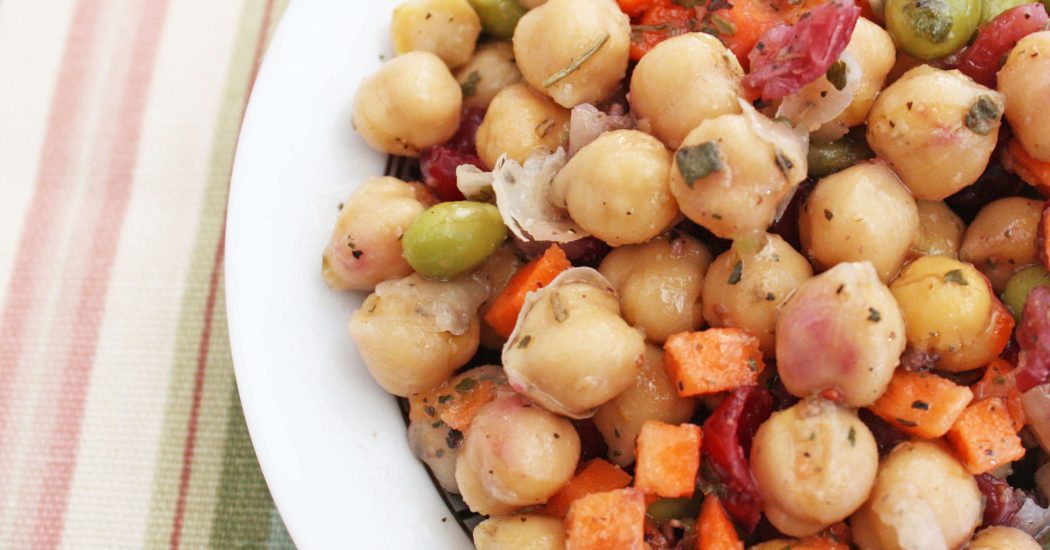
This recipe is so full of good things I don’t know where to start. Bell peppers are full of antioxidants, Vitamin C…
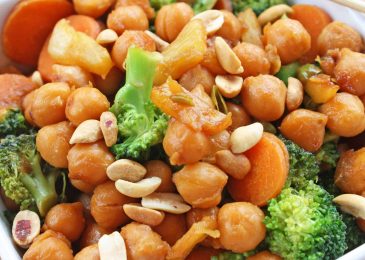
You need to make this dish! Aside from the powerhouse of nutrients it packs, there is the sweet and saucy…

Have you ever heard of Mochi? Don’t worry if you haven’t. For years I passed it by at the grocery…

A couple of weeks ago when I was thinking of recipe ideas for this weeks “Kids Week”, I asked Caleb…

The last 3 weeks have been a haze of cupcakes – all of which were major fails! I had cupcakes…