
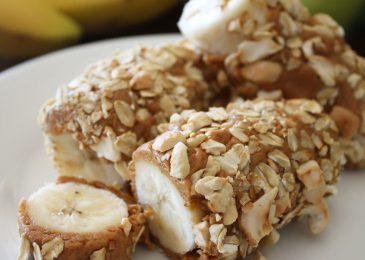
Gluten Free Trail Mix Energy Bites
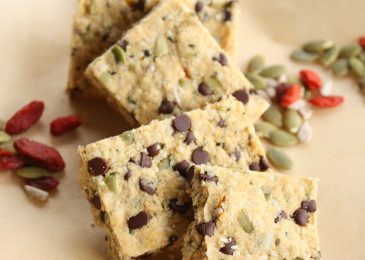
I don’t eat sweets very often but when I do I want them to count for something and these Trail…
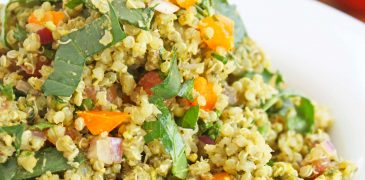
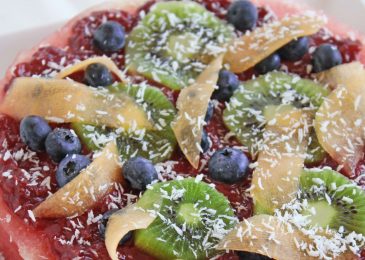
Sometimes I wish computers came with a scratch and sniff button so that you could smell how wonderful this salad…
I don’t eat sweets very often but when I do I want them to count for something and these Trail…
Each fall I look forward to apple season, each winter I look forward to Brussel sprouts and every summer I…
I am not a morning person. In college I was one of the first people to sign up for classes,…
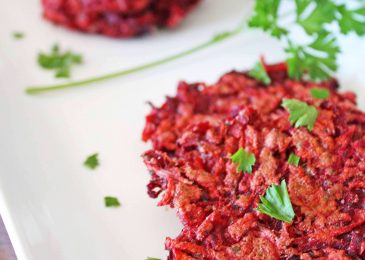
I bet most everyone has had potato pancakes or at least heard of them and they are delicious, but now that I’ve tried Root Vegetables Pancakes regular potatoes have taken the back seat to these colorful and tasty little cakes. I’ll be the first one to say that beets have been, at best, on my ‘tolerated’ list of vegetables. They have certainly never been a star attraction. Lately though I’ve been using them in some different ways and found that they are delicious when prepared well. In this recipe beets are combined with carrots, onions and spices and held together by garbanzo flour which also adds a rich flavor as well as protein. Perfect as a side dish or as a meal paired with a fresh green salad.

This recipe is a favorite of my granddaughter Keegan. Of course anything with bread, honey and cinnamon is a favorite…
Labor Day has come and gone. The kids are back to school. Summer’s over but you would never know it…

While some mothers may like to be taken out to dinner on Mother’s Day many fathers like the chance to…
On Friday my little guy will be 6 years old. SIX. YEARS. OLD! I swear it was just yesterday that…